
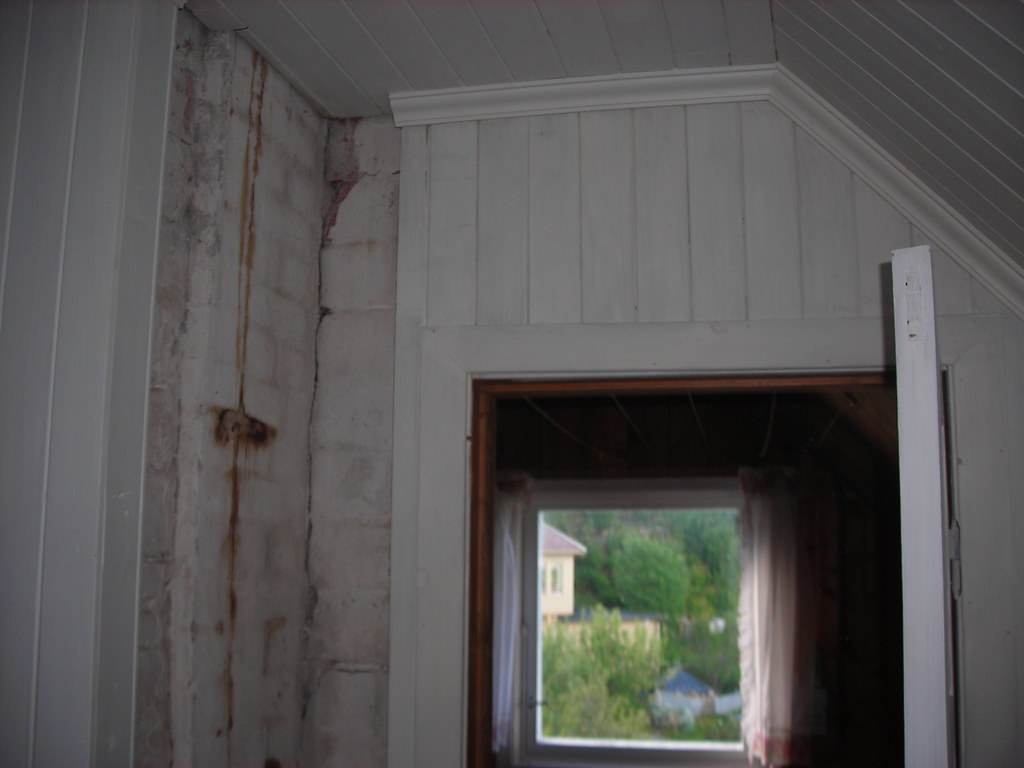
 Photo by mskogly via Flickr (CC BY 2.0)
Attic insulation is one of the most cost-effective energy renovation projects, as heat loss through the roof is often the most significant in a poorly insulated home.
In brief
- Assess the current state of insulation before buying any materials.
- Distinguish between unconverted and converted attics, as the technique differs.
- Plan for a sufficient insulation thickness for a real thermal gain.
- Do not neglect ventilation to avoid humidity issues.
- Call in a professional for converted or hard-to-access attics.
Assessing before acting
Before choosing an insulation technique, it is useful to take stock: is there existing insulation, what is its thickness, what is its overall condition. This assessment avoids layering new insulation over an already degraded one, which would limit the overall effectiveness of the work.
Unconverted or converted attics
| Attic type | Common technique |
|---|---|
| Unconverted attic | Blown wool insulation |
| Converted attic | Rigid panels or rolls between rafters |
Unconverted, unoccupied attics are well suited to blown-in insulation, which is quick to install. Converted attics require a more precise technique, usually entrusted to a professional.
Choosing the right insulation thickness
Insufficient thickness greatly reduces the effectiveness of the work. For an unconverted attic, aiming for 300 to 400 mm of blown wool achieves a good level of thermal performance, with a direct effect on the home’s energy bill.
Do not forget ventilation
Poorly planned insulation can encourage humidity if ventilation is not maintained. It is essential to keep sufficient air circulation under the roof to avoid any risk of condensation.
Getting professional support for complex cases
For converted attics or a particular roof configuration, calling in a professional remains recommended. This avoids costly mistakes, before tackling other items such as plumbing or electrics as part of a broader renovation project.